Paperless-ngx Push Notifications
Here is a guide on how I set up mobile push notifications to my android phone whenever a document is consumed in paperless-ngx.

Here is a guide on how I set up mobile push notifications to my android phone whenever a document is consumed in paperless-ngx. This saves me the hassle of logging in to make sure documents were processed successfully, especially when those documents are coming from less-than-reliable clients like all-in-one printers.
For this setup I am using MQTT for messaging, Home Assistant for the push notifications, and Node-RED to glue it all together. You could easily substitute other protocols if needed (HTTP instead of MQTT, Telegram instead of Home Assistant, ...).
I have paperless-ngx hosted in docker on a Debian VM. This will not work for a bare-metal installation of paperless-ngx.
How it works
Paperless-ngx exposes hooks into the document consumption process. In particular, we will use the post-consumption hook to run a bash script. The process works like this:
- Upload document to paperless-ngx
- Document is queued and processed by paperless-ngx
- Post-consumption script executes, publishes a JSON summary of the document to the MQTT broker.
- Node-RED consumes the message from the MQTT broker and uses the Home Assistant notify service to push out the notification.
Set up MQTT Client
First, we need to add the MQTT client so that paperless-ngx can publish messages to our broker.
Create a new file Dockerfile at the same location as docker-compose.env. This allows us to build our own container with Mosquitto installed on top of the latest paperless-ngx image.
FROM ghcr.io/paperless-ngx/paperless-ngx:latest

RUN apt-get update && apt-get install -y mosquitto mosquitto-clientsNow, edit docker-compose.yml so that it builds from the Dockerfile instead of using the paperless-ngx image.
version: "3.4"
services:

  webserver:
    build: .
    restart: unless-stopped
    depends_on:
      - db
      - broker
      - gotenberg
      - tika
    ports:
      - "8000:8000"
    volumes:
      - data:/usr/src/paperless/data
      - media:/usr/src/paperless/media
      - ./export:/usr/src/paperless/export
    env_file: docker-compose.env
    environment:
      PAPERLESS_REDIS: redis://broker:6379
      PAPERLESS_DBHOST: db
      PAPERLESS_TIKA_ENABLED: 1
      PAPERLESS_TIKA_GOTENBERG_ENDPOINT: http://gotenberg:3000
PAPERLESS_TIKA_ENDPOINT: http://tika:9998Post-consumption Script
Now we can add our script to publish new document messages to the MQTT broker. Make a new scripts directory next to docker-compose.yml and add a new file post-consumption.sh. Replace the host, username, and password arguments according to your configuration.
#!/usr/bin/env bash

mosquitto_pub -h <mqtt_host> --username <mqtt_username> --pw <mqtt_password> -t /paperless/post-consumption -m '{
    "id":"'"${DOCUMENT_ID}"'",
    "file_name":"'"${DOCUMENT_FILE_NAME}"'",
    "created":"'"${DOCUMENT_CREATED}"'",
    "modified":"'"${DOCUMENT_MODIFIED}"'",
    "added":"'"${DOCUMENT_ADDED}"'",
    "source_path":"'"${DOCUMENT_SOURCE_PATH}"'",
    "archive_path":"'"${DOCUMENT_ARCHIVE_PATH}"'",
    "thumbnail_path":"'"${DOCUMENT_THUMBNAIL_PATH}"'",
    "download_url":"'"${DOCUMENT_DOWNLOAD_URL}"'",
    "thumbnail_url":"'"${DOCUMENT_THUMBNAIL_URL}"'",
    "correspondent":"'"${DOCUMENT_CORRESPONDENT}"'",
    "tags":"'"${DOCUMENT_TAGS}"'",
    "original_filename":"'"${DOCUMENT_ORIGINAL_FILENAME}"'",
    "task_id":"'"${TASK_ID}"'"
}'After saving the script, make sure to make the file executable.
$ chmod ug+x post-consumption.shNow, we need to mount the scripts folder so that the post-consumption script is available to the container. We do this by adding a new volume to docker-compose.env. Then we tell paperless about the script by setting the PAPERLESS_POST_CONSUME_SCRIPT environment variable.
version: "3.4"
services:

  webserver:
    build: .
    restart: unless-stopped
    depends_on:
      - db
      - broker
      - gotenberg
      - tika
    ports:
      - "8000:8000"
    volumes:
      - data:/usr/src/paperless/data
      - media:/usr/src/paperless/media
      - ./export:/usr/src/paperless/export
      - ./scripts:/opt/scripts
    env_file: docker-compose.env
    environment:
      PAPERLESS_REDIS: redis://broker:6379
      PAPERLESS_DBHOST: db
      PAPERLESS_TIKA_ENABLED: 1
      PAPERLESS_TIKA_GOTENBERG_ENDPOINT: http://gotenberg:3000
      PAPERLESS_TIKA_ENDPOINT: http://tika:9998
PAPERLESS_POST_CONSUME_SCRIPT: /opt/scripts/post-consumption.shNode-RED Subscriber
Next, we can jump over to Node-RED and see the messages flowing in on our new MQTT topic. Add a new mqtt in node and set the topic to /paperless/post-consumption, then run that node into a debug node.

[{"id":"f1c99a4c36ff8e41","type":"mqtt in","z":"0b8e56ca785432e9","name":"","topic":"/paperless/post-consumption","qos":"2","datatype":"json","broker":"671331cca0db9c1a","nl":false,"rap":true,"rh":0,"inputs":0,"x":530,"y":220,"wires":[["a9fd6de7a6d58f9a"]]},{"id":"a9fd6de7a6d58f9a","type":"debug","z":"0b8e56ca785432e9","name":"debug 45","active":true,"tosidebar":true,"console":false,"tostatus":false,"complete":"payload","targetType":"msg","statusVal":"","statusType":"auto","x":780,"y":220,"wires":[]},{"id":"671331cca0db9c1a","type":"mqtt-broker","name":"192.168.1.153","broker":"192.168.1.153","port":"1883","clientid":"","autoConnect":true,"usetls":false,"protocolVersion":"4","keepalive":"60","cleansession":true,"birthTopic":"","birthQos":"0","birthPayload":"","birthMsg":{},"closeTopic":"","closeQos":"0","closePayload":"","closeMsg":{},"willTopic":"","willQos":"0","willPayload":"","willMsg":{},"userProps":"","sessionExpiry":""}]Now, try uploading a document to paperless and check the debug output. You should get a JSON payload populated with data from the new document.
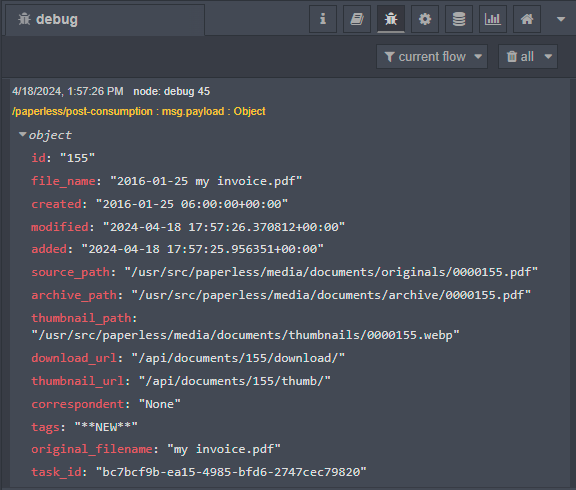
This payload should be all you need to set up all kinds of automations in Home Assistant. Note that you can also use the REST API to pull in even more details from paperless.
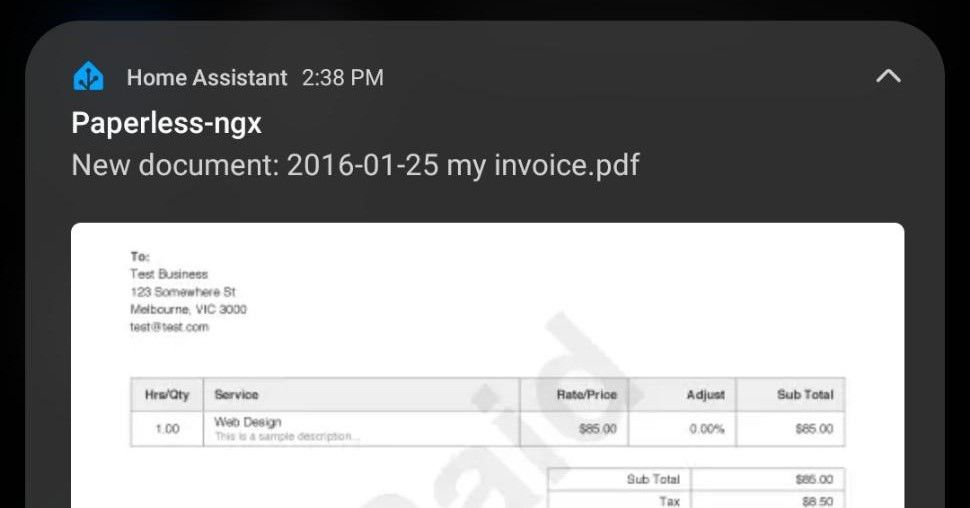
Mobile App Push Notifications
Here is how I automated push notifications to my Android device.

[{"id":"f1c99a4c36ff8e41","type":"mqtt in","z":"0b8e56ca785432e9","name":"","topic":"/paperless/post-consumption","qos":"2","datatype":"json","broker":"671331cca0db9c1a","nl":false,"rap":true,"rh":0,"inputs":0,"x":180,"y":300,"wires":[["c0d020cf51bfbced"]]},{"id":"6c84dfb517eeebb8","type":"function","z":"0b8e56ca785432e9","name":"Build Notification Payload","func":"msg.payload = {\n \"data\": {\n \"title\": 'Paperless-ngx',\n \"message\": 'New document: ' + msg.file_name,\n \"data\": {\n \"image\": \"/local/paperless/thumb.webp\",\n \"when\": msg.added,\n \"ttl\": 0,\n \"priority\": \"high\",\n \"channel\": \"Paperless\",\n \"clickAction\": msg.paperless_url_base + \"/documents/\" + msg.id\n }\n }\n}\nreturn msg;","outputs":1,"timeout":"","noerr":0,"initialize":"","finalize":"","libs":[],"x":1230,"y":300,"wires":[["baa5324ed5b6970c"]]},{"id":"6f75de0eadaf83b4","type":"http request","z":"0b8e56ca785432e9","name":"GET thumbnail","method":"GET","ret":"bin","paytoqs":"ignore","url":"{{{paperless_url_base}}}/api/documents/{{{payload.id}}}/thumb/","tls":"","persist":false,"proxy":"","insecureHTTPParser":false,"authType":"basic","senderr":false,"headers":[{"keyType":"other","keyValue":"Content-Type","valueType":"other","valueValue":"image/png"}],"x":740,"y":300,"wires":[["9e97698091c19a1b"]]},{"id":"9e97698091c19a1b","type":"file","z":"0b8e56ca785432e9","name":"Write thumbnail to local storage","filename":"/homeassistant/www/paperless/thumb.webp","filenameType":"str","appendNewline":true,"createDir":false,"overwriteFile":"true","encoding":"none","x":970,"y":300,"wires":[["6c84dfb517eeebb8"]]},{"id":"c0d020cf51bfbced","type":"change","z":"0b8e56ca785432e9","name":"","rules":[{"t":"set","p":"when","pt":"msg","to":"payload.when","tot":"msg"},{"t":"set","p":"id","pt":"msg","to":"payload.id","tot":"msg"},{"t":"set","p":"file_name","pt":"msg","to":"payload.file_name","tot":"msg"}],"action":"","property":"","from":"","to":"","reg":false,"x":400,"y":300,"wires":[["ddd1fa4831958921"]]},{"id":"baa5324ed5b6970c","type":"api-call-service","z":"0b8e56ca785432e9","name":"","server":"d1ddf9d.c530808","version":5,"debugenabled":false,"domain":"notify","service":"mobile_app_galaxy_s10","areaId":[],"deviceId":[],"entityId":[],"data":"","dataType":"jsonata","mergeContext":"","mustacheAltTags":false,"outputProperties":[],"queue":"none","x":1490,"y":300,"wires":[[]]},{"id":"ddd1fa4831958921","type":"credentials","z":"0b8e56ca785432e9","name":"","props":[{"value":"paperless_url_base","type":"msg"}],"x":570,"y":300,"wires":[["6f75de0eadaf83b4"]]},{"id":"671331cca0db9c1a","type":"mqtt-broker","name":"192.168.1.153","broker":"192.168.1.153","port":"1883","clientid":"","autoConnect":true,"usetls":false,"protocolVersion":"4","keepalive":"60","cleansession":true,"birthTopic":"","birthQos":"0","birthPayload":"","birthMsg":{},"closeTopic":"","closeQos":"0","closePayload":"","closeMsg":{},"willTopic":"","willQos":"0","willPayload":"","willMsg":{},"userProps":"","sessionExpiry":""},{"id":"d1ddf9d.c530808","type":"server","name":"Home Assistant","addon":true}]This works by subscribing to our new MQTT topic, downloading the thumbnail to Home Assistant local storage, then publishing the notification using the notify service.
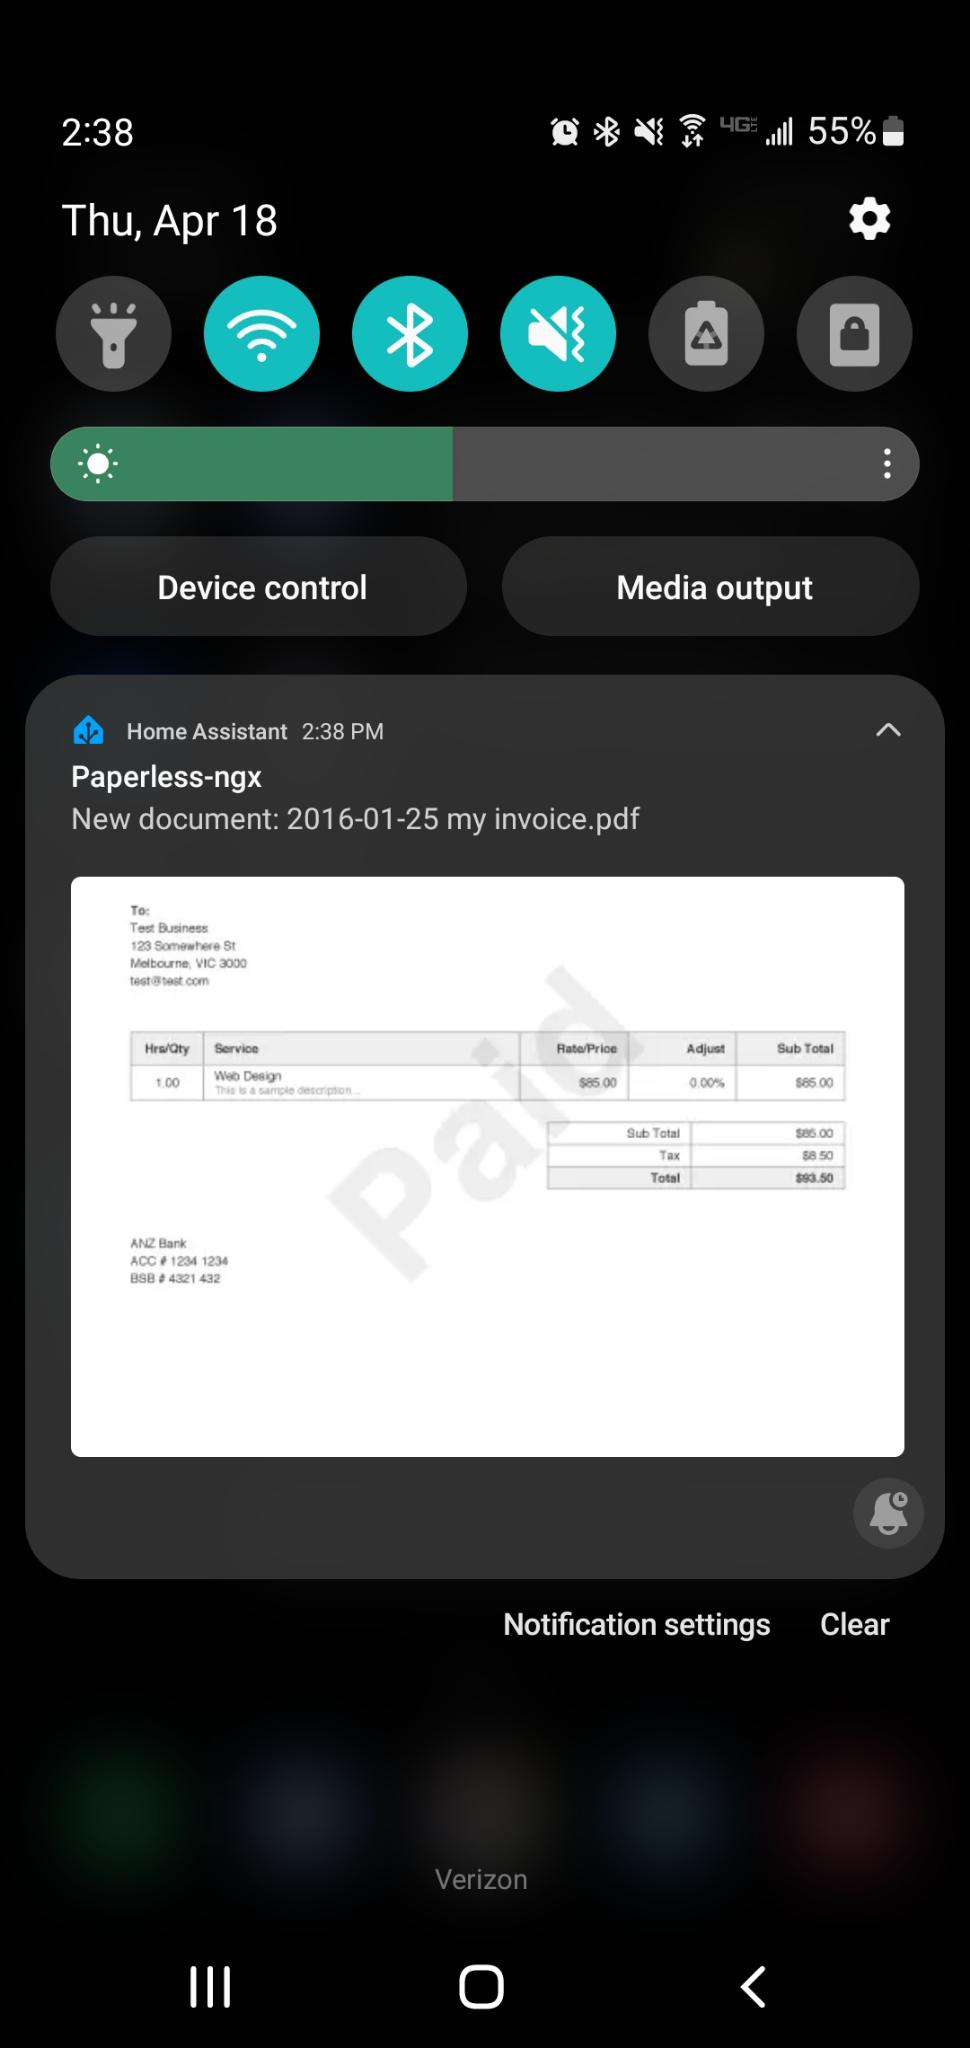
Tapping the notification opens the document in the paperless-ngx web interface where I can quickly review the upload and set up the tags.
Thanks for reading!