Using Tasker to Trigger Android Tasks from Home Assistant

Tasker is the best automation app for Android devices. It can hook into practically any event and trigger whatever action you want. If you also install its companion app, AutoRemote, then you can trigger tasks on your phone from any web client, such as HomeAssistant.
Here are some example automations you could do easily with Tasker+AutoRemote:
- Play a sound on your phone when a door opens
- Turn on a tablet screen when HA detects motion in the room
- Control media playback with a smart switch
- Sync phone brightness with light brightness
Garage Door Alerts
In this guide I will show how I set up an automation in HomeAssistant to alert me when my garage door is opened. When the door sensor trips, my phone will get notified and play a doorbell chime, and some lights in the house will toggle on and off.
Device Setup
I used the following for this guide:
- Smart phone with Android Pie installed
- Tasker for Android v5.8.3 (Costs between $1 and $3, but WORTH IT)
- AutoRemote plugin for Tasker v3.1.2 (Another $1)
- HomeAssistant v0.98 running on Raspberry Pi 3
- SmartThings door sensor, connected to HA via deCONZ
- Free doorbell mp3

AutoRemote Configuration
After installing Tasker and AutoRemote, launch the AutoRemote app and note your personal URL. Open the app preferences and set up a device name and password (optional).
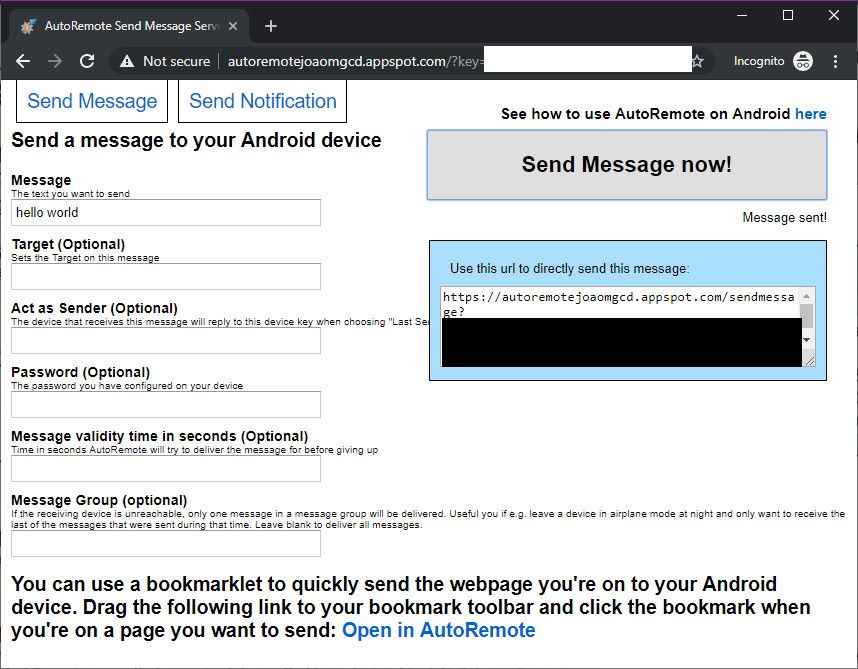
Navigate to your personal URL on a PC. Enter a hello world message, and enter the password if you set it up on the phone. Click "Send Message now!" and you should see a toast on your phone if it worked. (Toasts are enabled by default in the app preferences but make sure they are turned on if you don't see them).
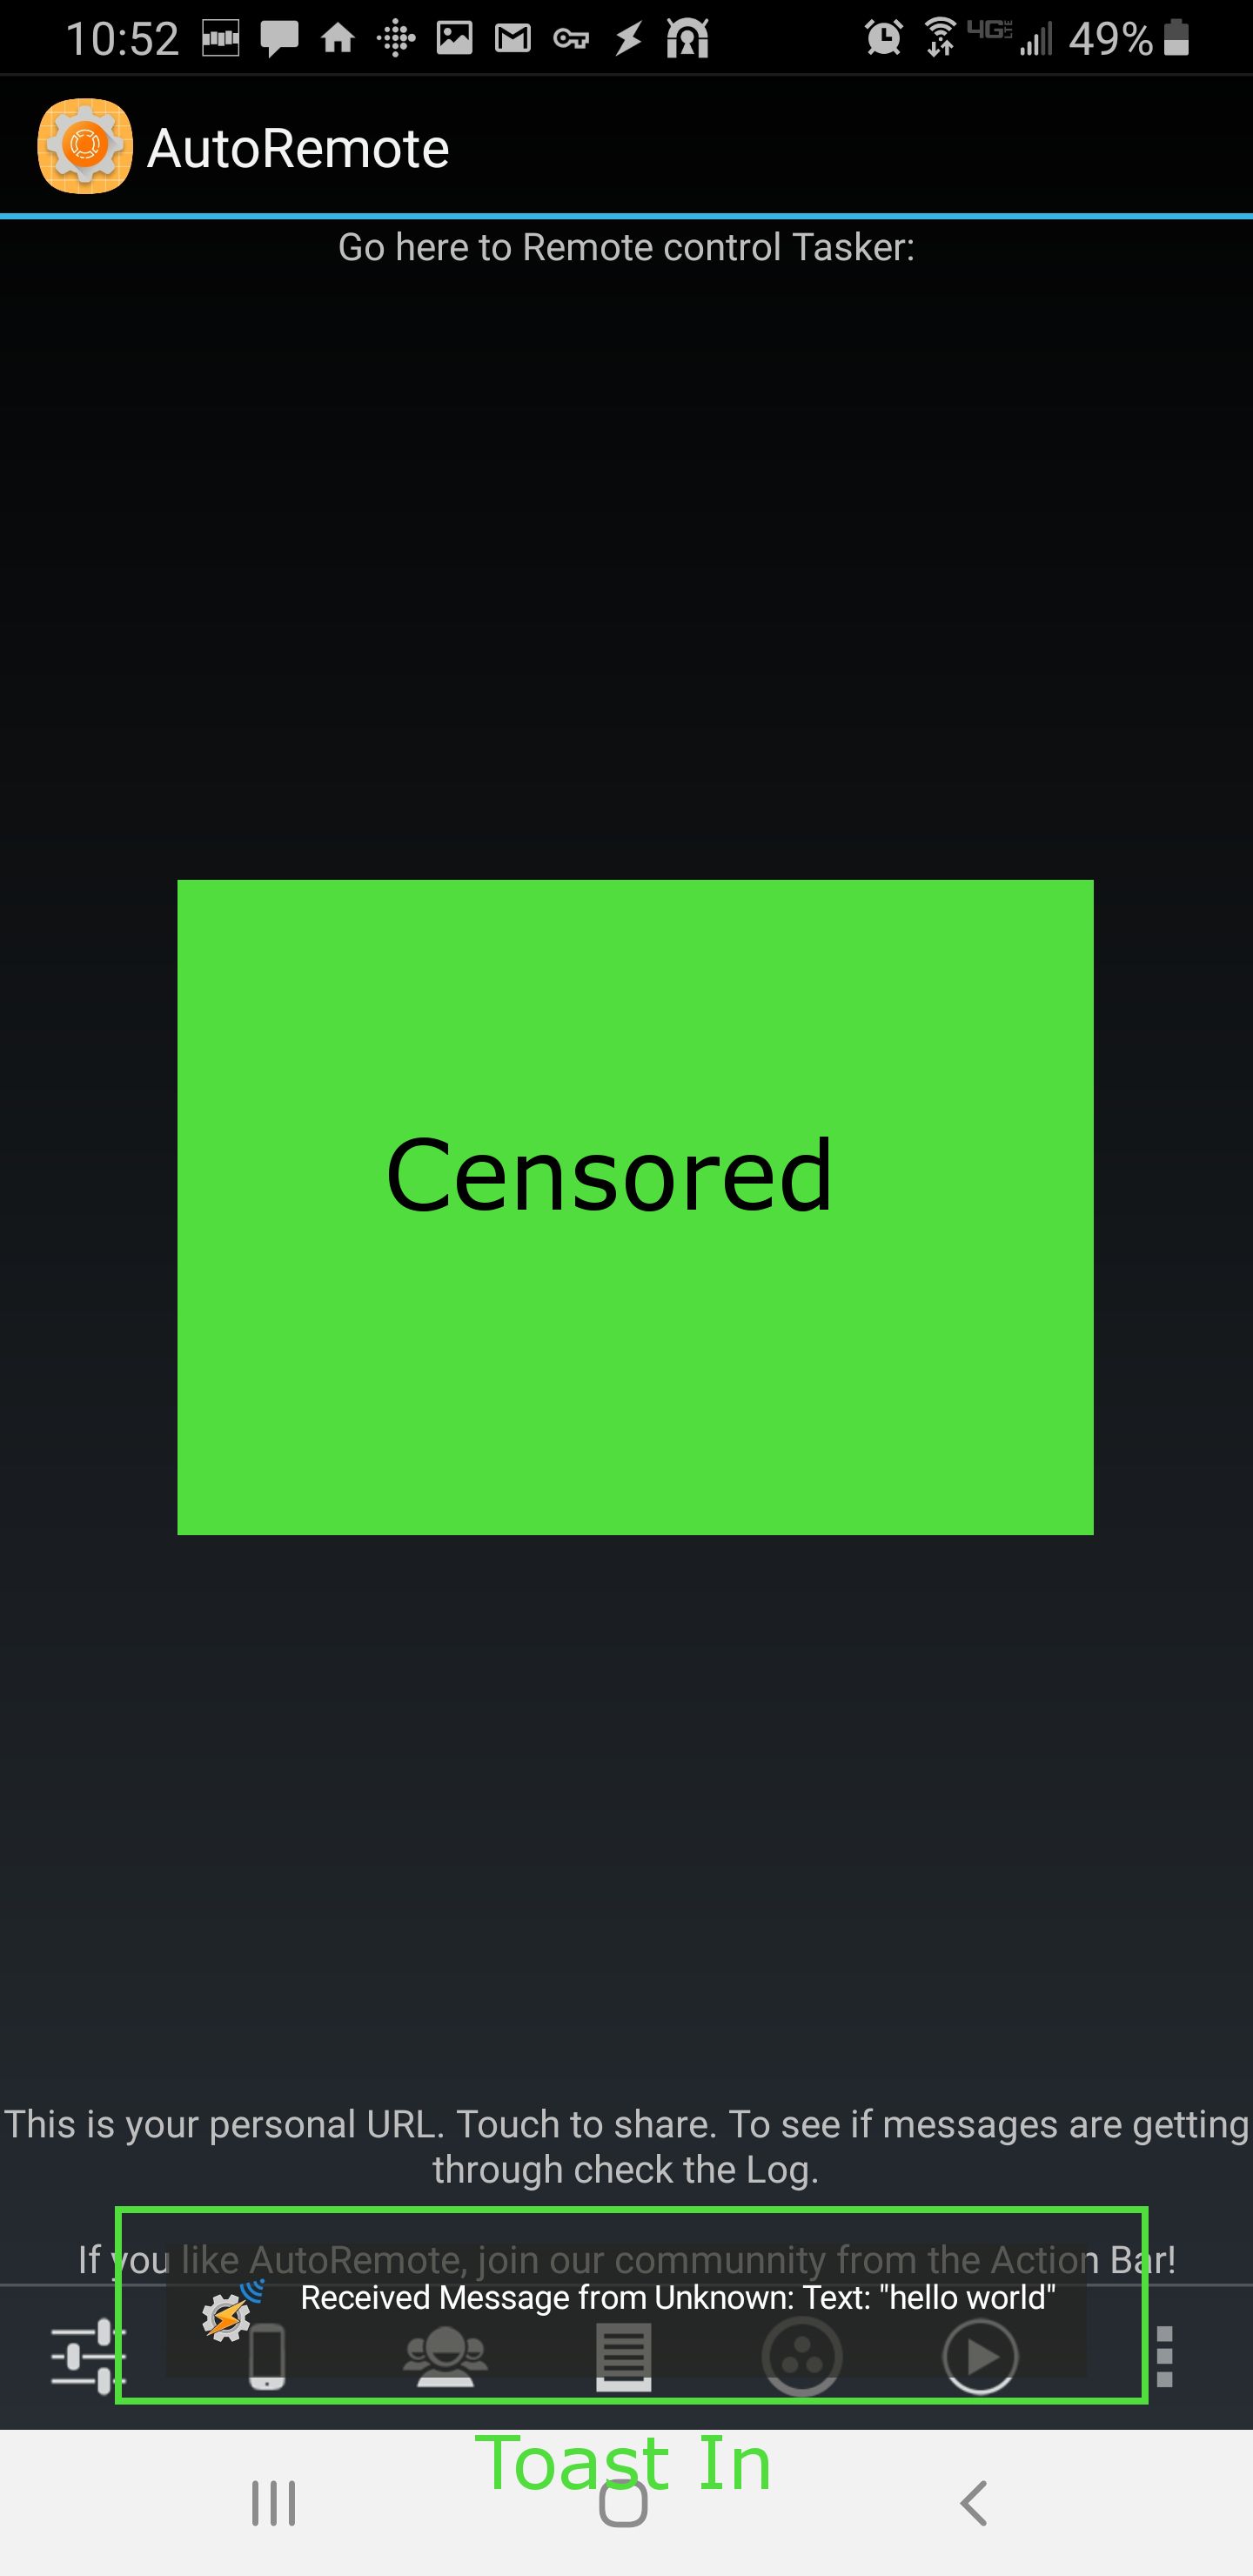
Once you know the messages are working you will probably want to disable the Toasts.
Now change the message text to "garage_open" and copy the URL from the blue box on the right side of the screen. This is your REST URL so copy it down for later. It should look something like this:
https://autoremotejoaomgcd.appspot.com/sendmessage?key=[REALLY_LONG_STRING]&message=garage_openTasker Configuration
Next, we need to set up a new Profile in Tasker. A Profile in Tasker is analogous to an Automation in HomeAssistant – some kind of trigger tied to an action. In this case our trigger will be the AutoRemote message we just set up, and the action will be a notification on the phone.
- Open Tasker and tap the + icon to start adding a new Profile.
- Choose Event > Plugin > AutoRemote > AutoRemote
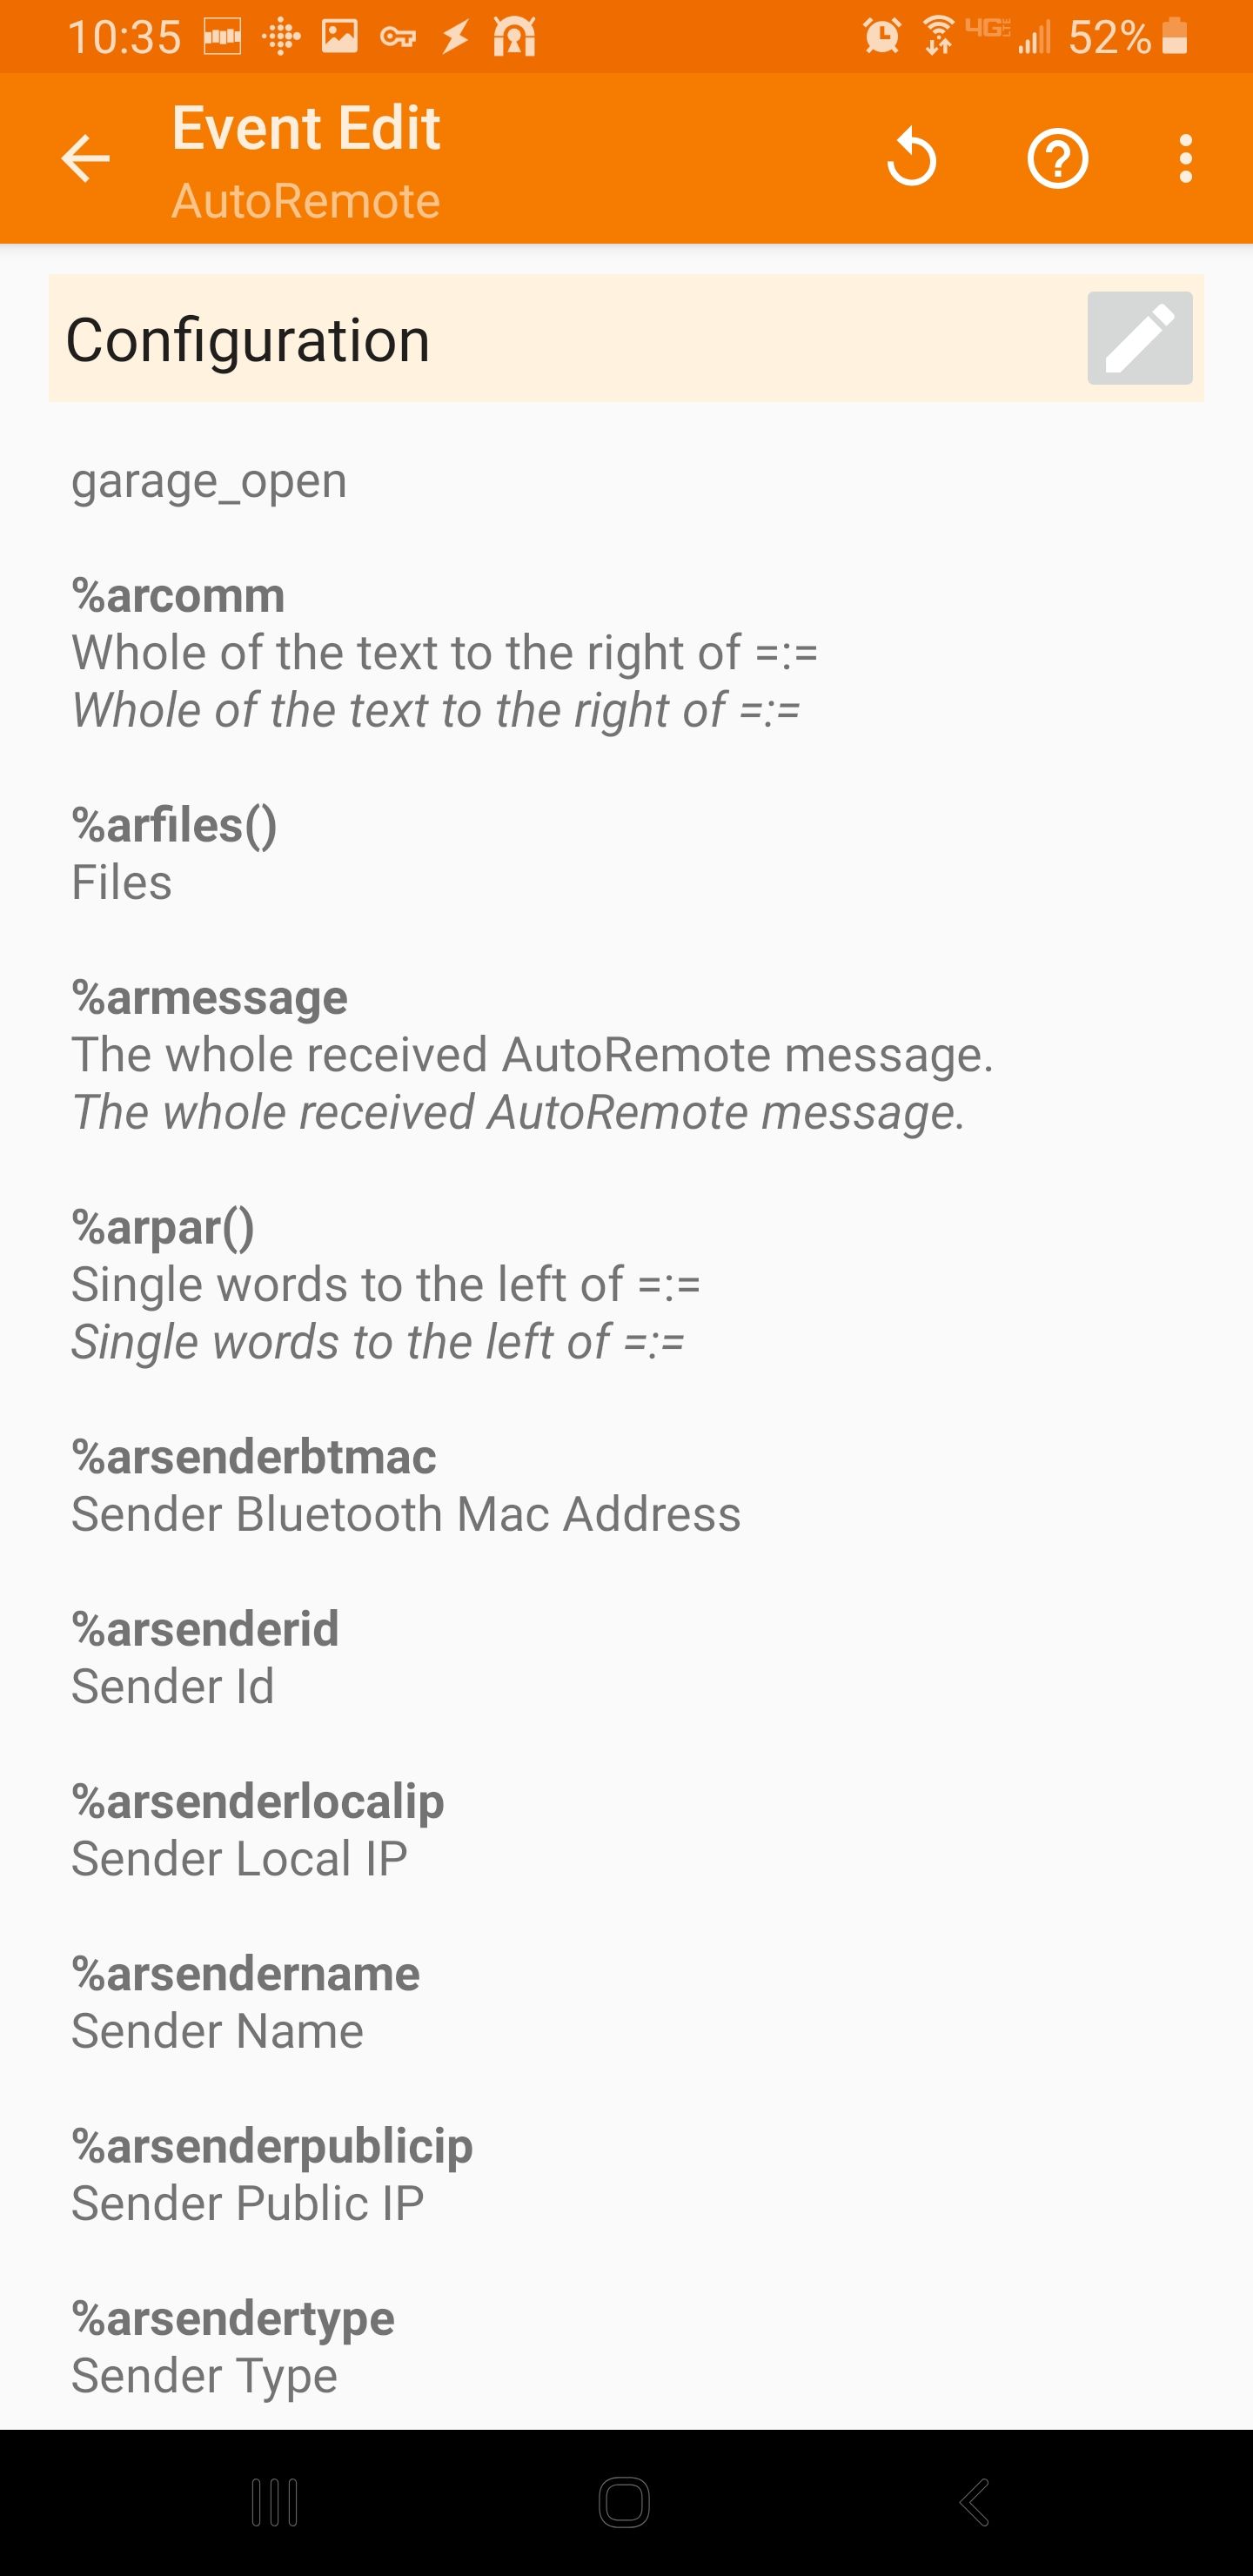
- Tap the pencil icon to edit the Configuration. This should launch AutoRemote.
- Edit the message filter to "garage_open"
- Back out of AutoRemote and you should be in Tasker again with the Event details all filled out
- Back out of the Event Edit page and you should be prompted to select a Task. Choose New Task.
- Enter the name Garage Open and apply the change. You should now see the Task Edit screen.
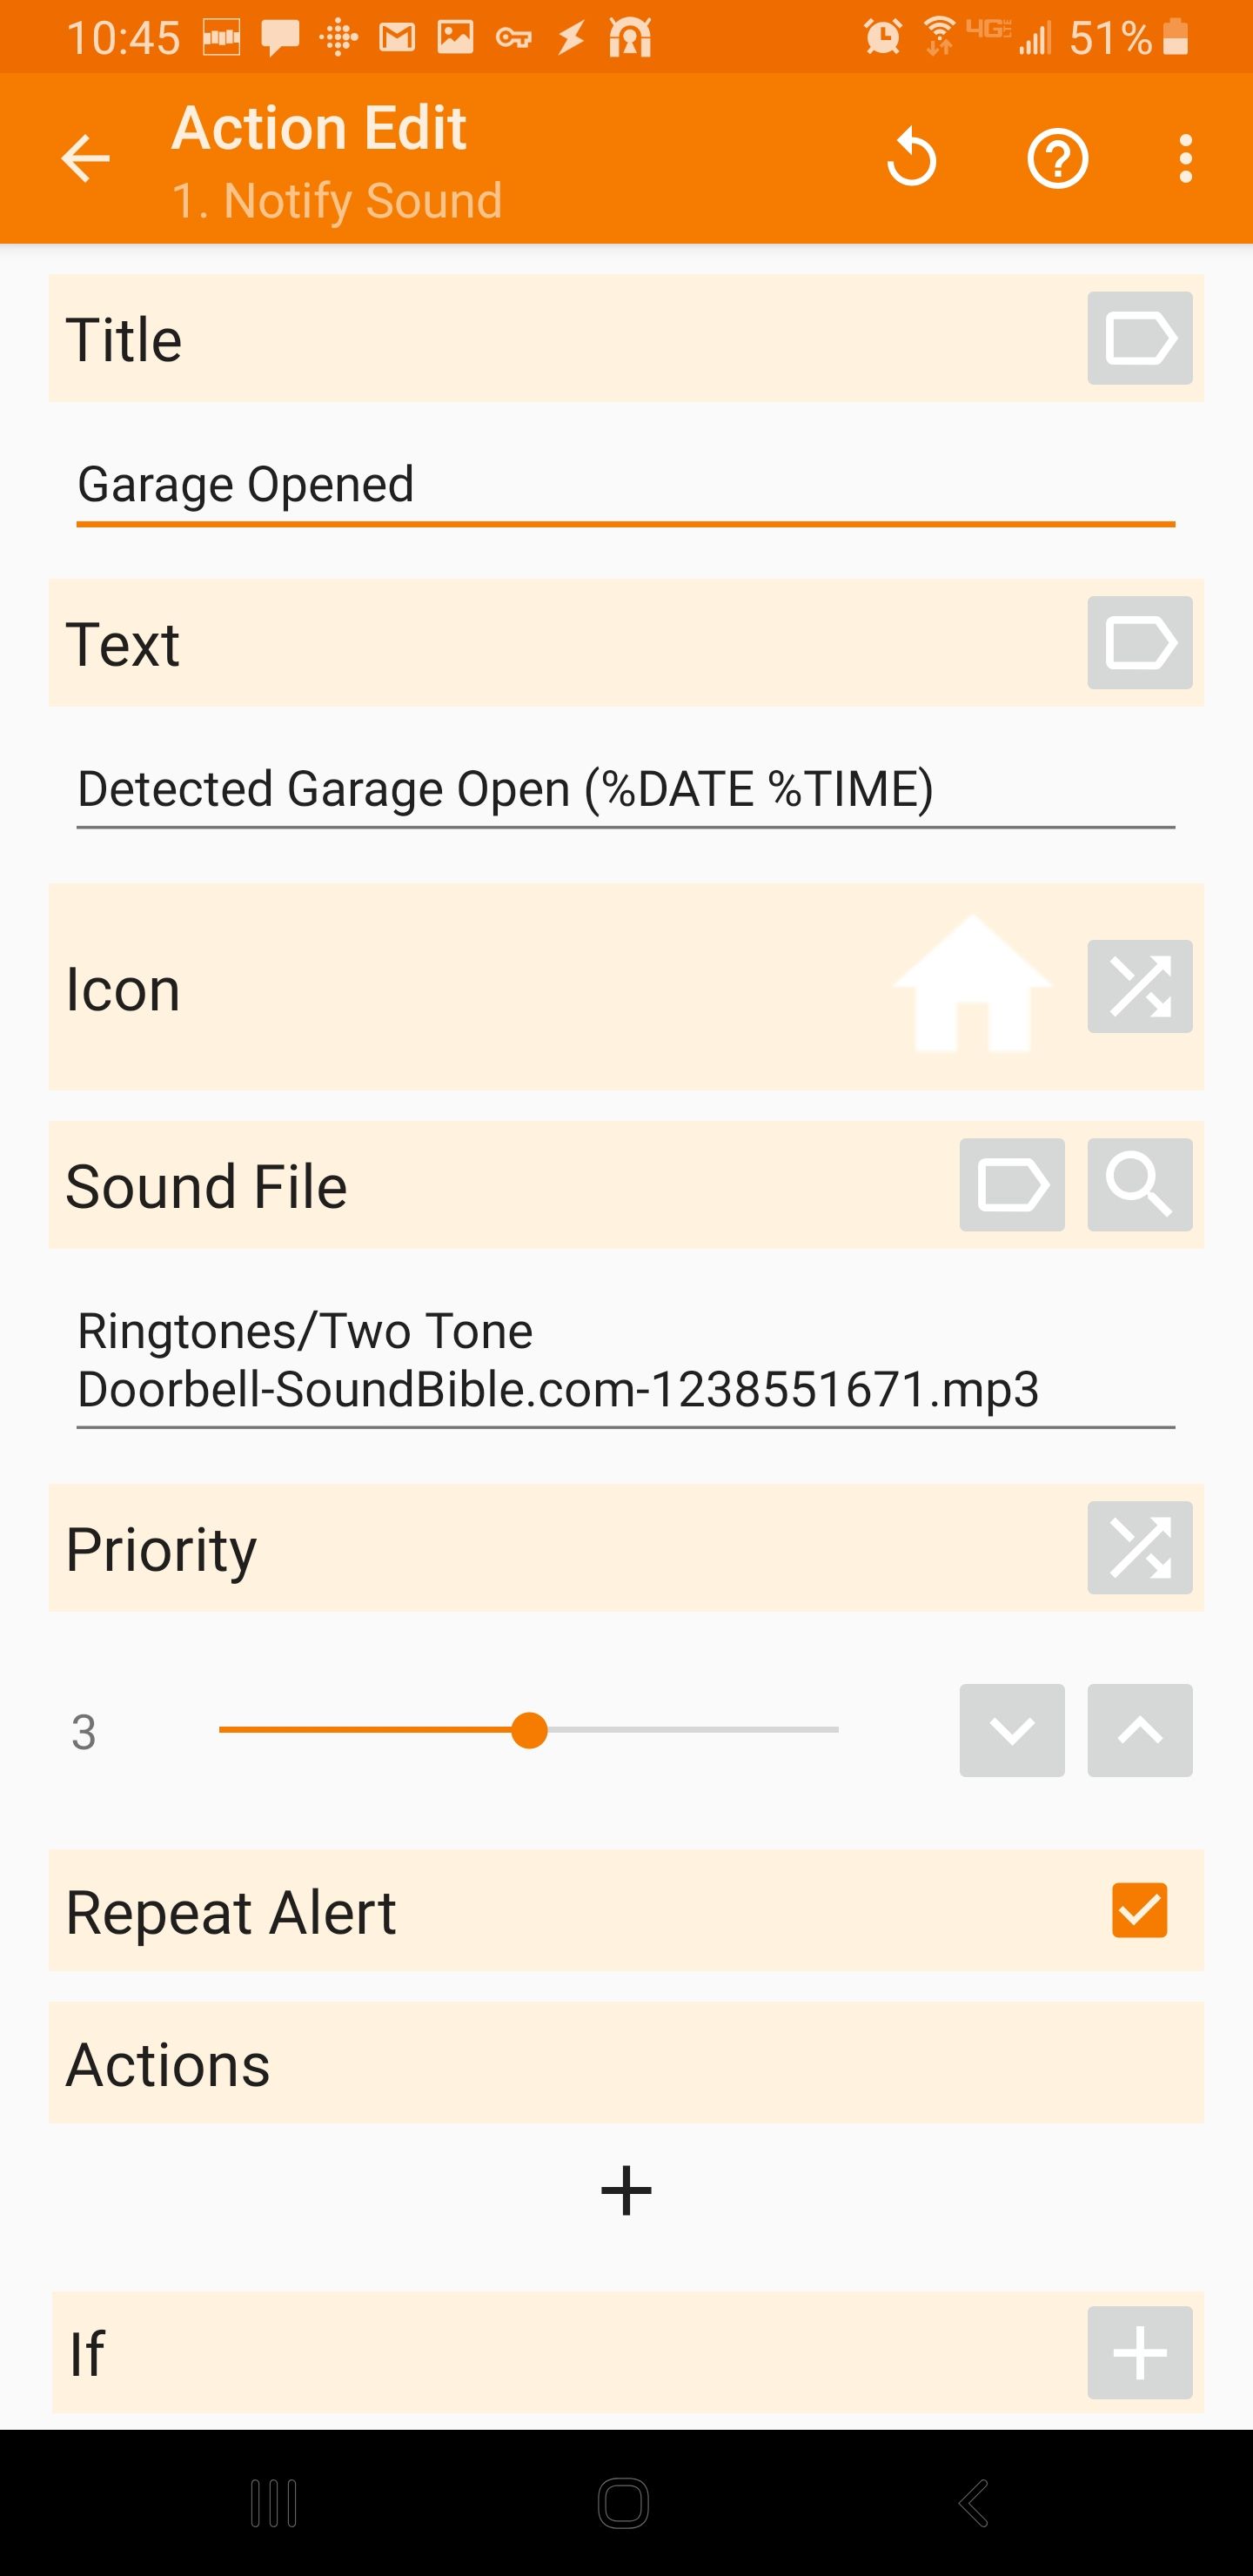
- Tap the + icon to add a new Action to the Garage Open Task. Choose Alert > Notify Sound.
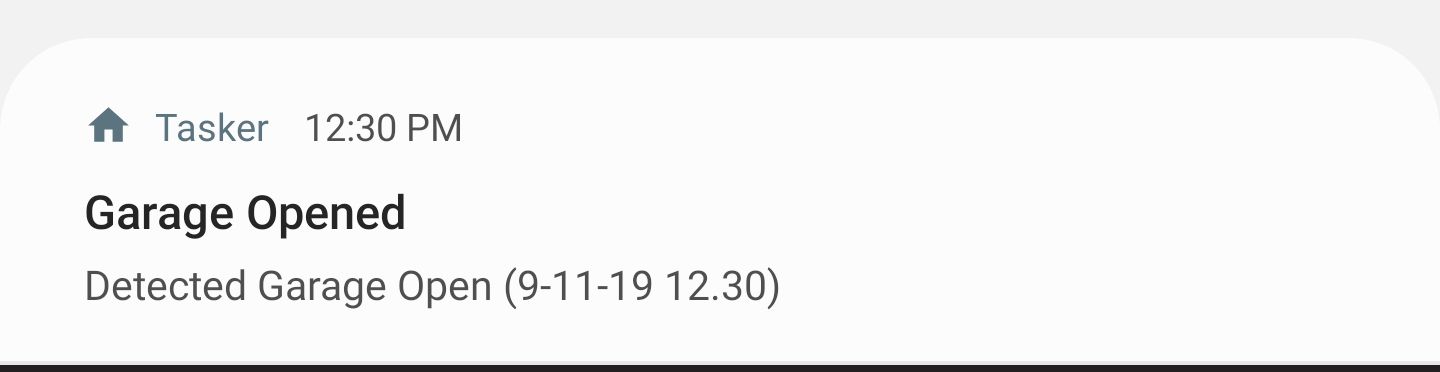
- Enter the Title "Garage Opened"
- Enter the Text "Detected Garage Open (%DATE %TIME)"
- Choose an icon for the notification
- Browse for the sound file on your device if desired
- Change Notification Priority if desired
- Check Repeat Alert (otherwise the sound will not chime unless you dismiss previous notifications)
- Back out to the Task Edit screen. Tap the Play button in the bottom right to test the Task. You should get a new item in your notification tray and the sound file should play (make sure your phone is not on silent).
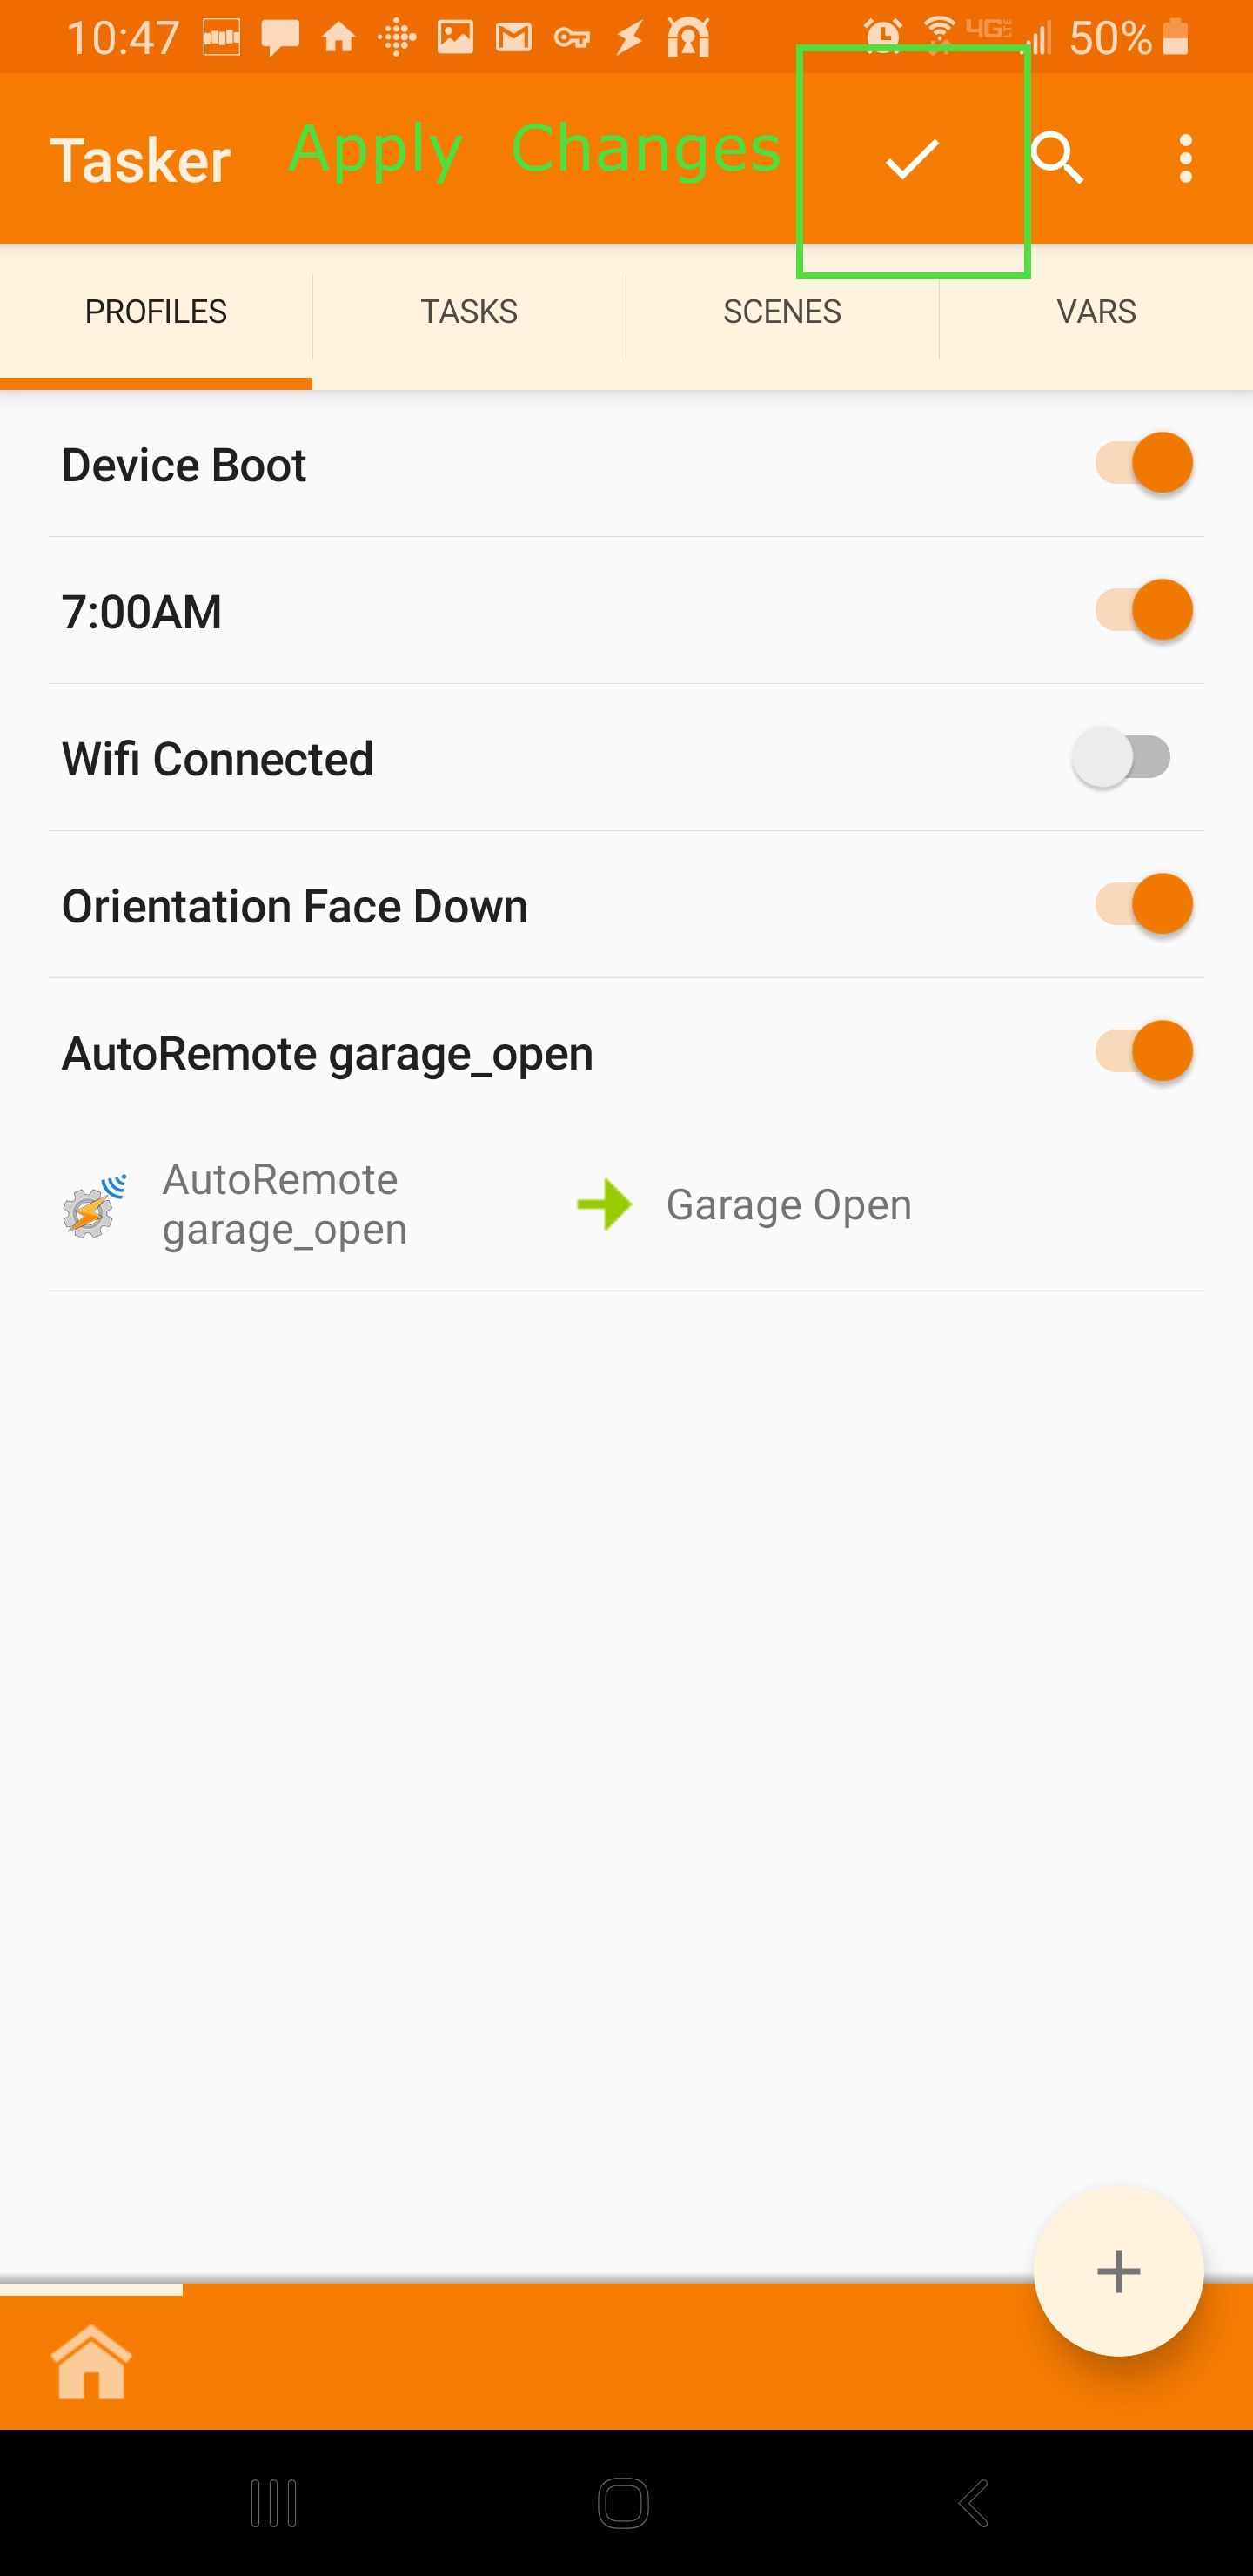
- Back out to the Profiles screen and tap the check mark to apply your config
Now you can test your changes by navigating to your AutoRemote URL. If everything is set up correctly, you should get a notification on your phone and the supplied audio file should sound off.
HomeAssistant Configuration
Now that the phone is set up to receive REST commands, we just have to configure HomeAssistant to call our REST service. The simplest way to do this is with the RESTful Command integration.
Add the following to your configuration.yaml using the URL you generated earlier. You may want to use the secrets file to obscure your private key.
rest_command:
  autoremote_garage_open:
    url: 'https://autoremotejoaomgcd.appspot.com/sendmessage?key=[REALLY_LONG_STRING]&message=garage_open'
Now restart HomeAssistant for the changes to take affect. A new service called rest_command.autoremote_garage_open will be registered. Use the developer tools in HA to test out the rest service.
Finally, wire up the REST command by adding a new automation:
- alias: Garage Door Open Alerts
  trigger:
  - platform: state
    entity_id: binary_sensor.openclose_12   # Change your entity ID
    from: 'off'
    to: 'on'
  action:
  - service: rest_command.tasker_garage_opened
  - service: script.flash_lights            # Additional alerts in HA
Restart HA one last time and then trigger your automation to see it in action. Now you can repeat this process using ANY trigger/condition in HA to fire off ANY task on your Android device. You can also get more advanced by passing arguments.